Before & After Image Slider
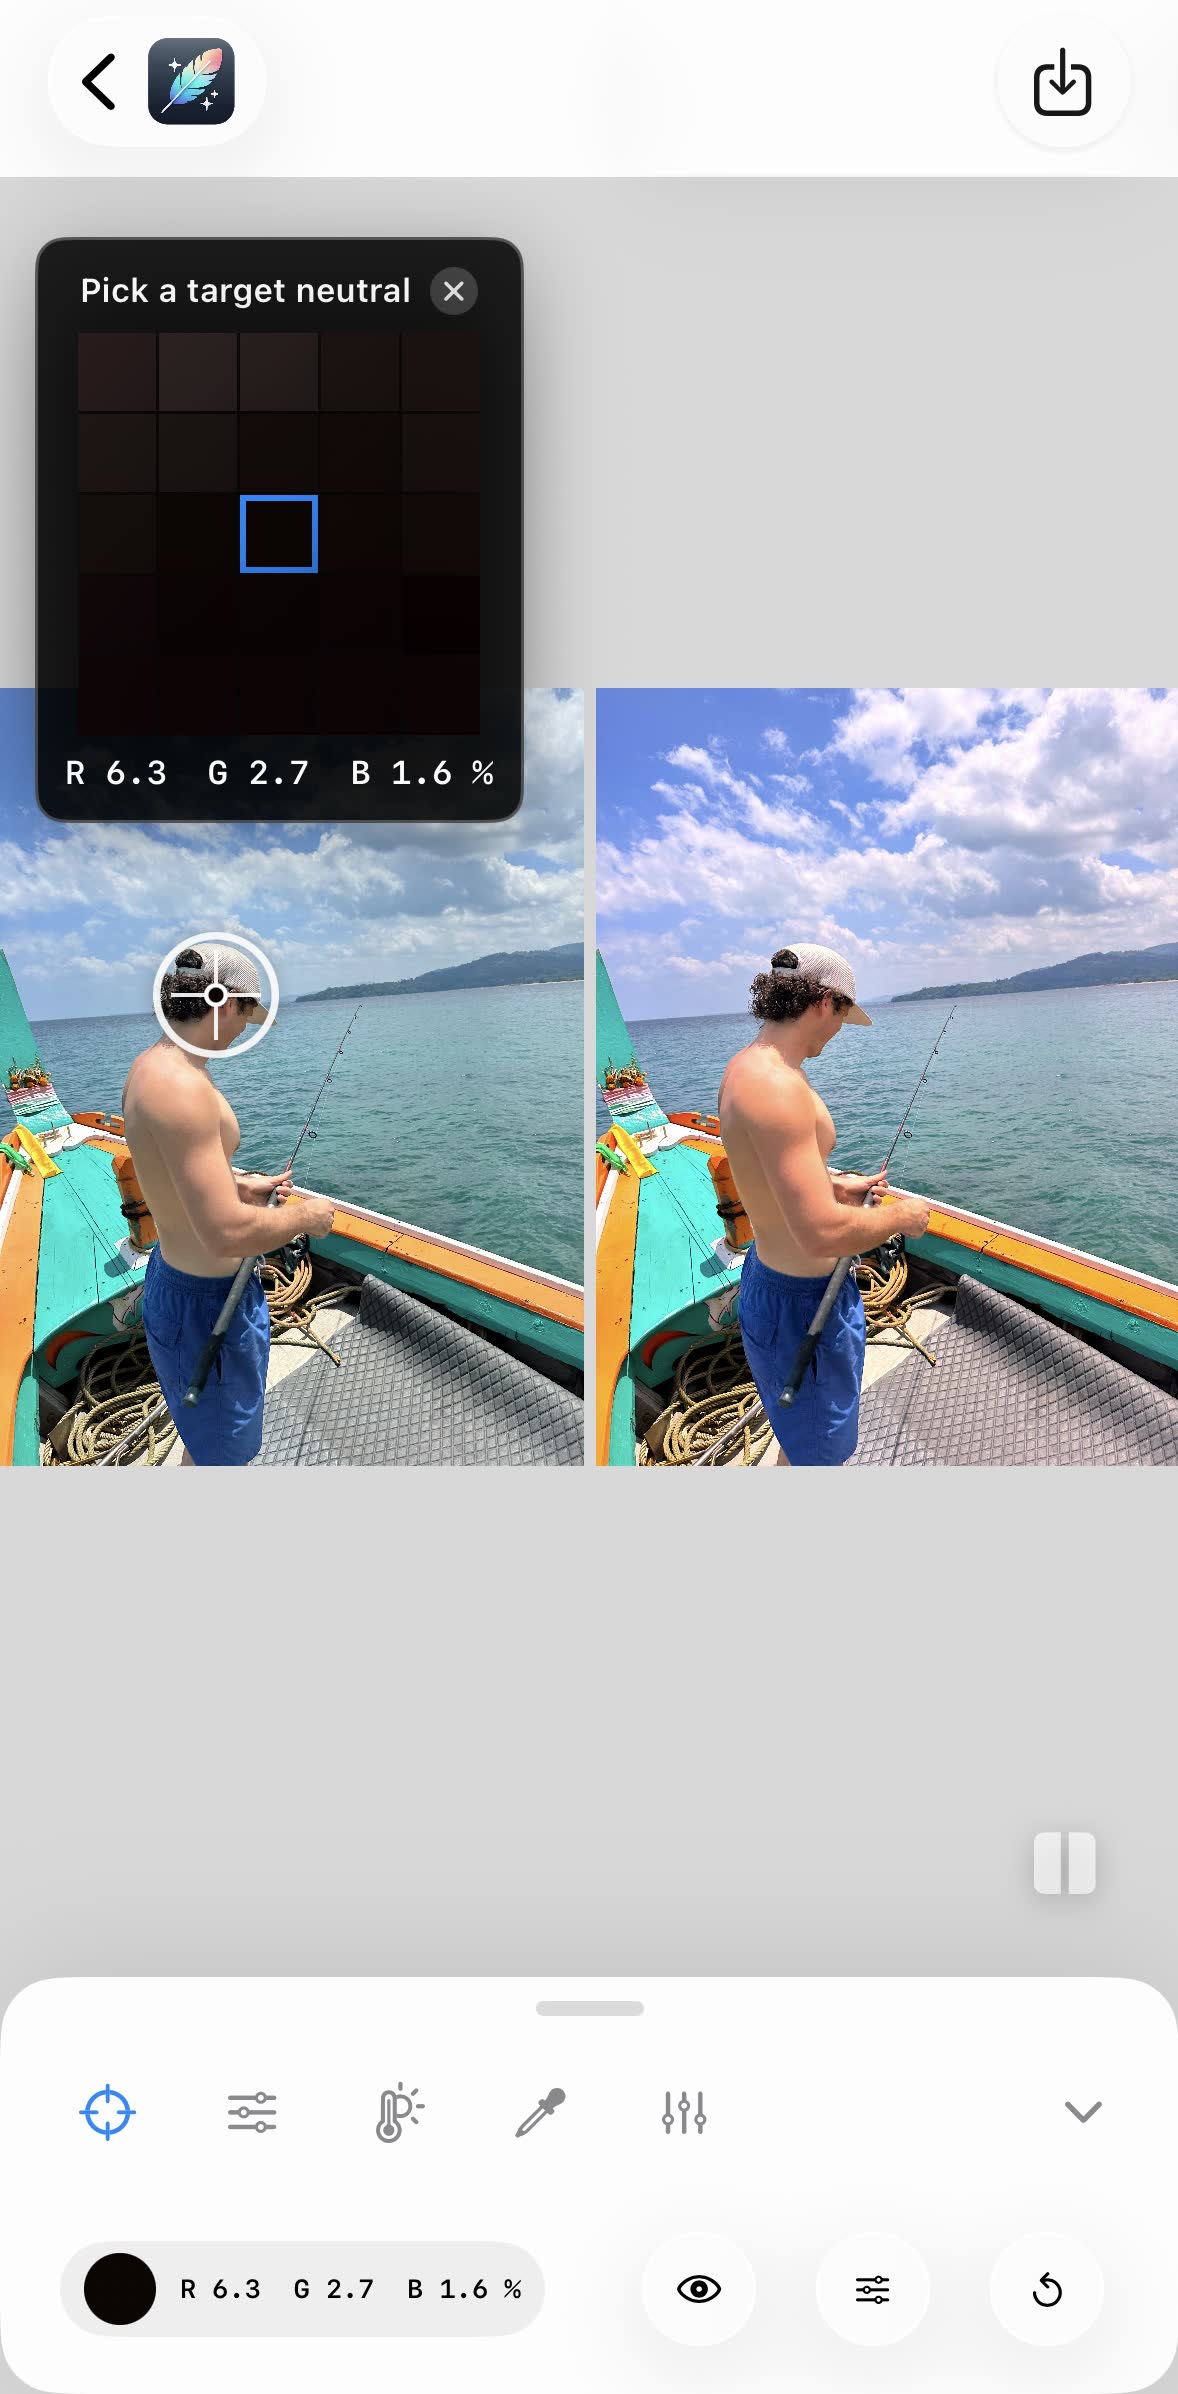
Compare two versions of a photo with a draggable divider, then download the comparison as one image — split at the divider or side by side. The demo pair shows a washed-out iPhone photo before and after a one-tap white balance fix; drop in your own photos to replace it.
Free · runs in your browser · nothing is uploaded · updated


Showing a demo pair — a washed-out photo before and after a one-tap fix in White Balancer. Add your own two photos to replace it.
Before image
Drop a photo here or
After image
Drop a photo here or
Everything happens in your browser. Your photos are never uploaded.
What makes a good before and after
- Same framing. Use the original and an edit of the same photo. If you crop, crop both.
- One change at a time. A slider is most convincing when it isolates one thing — color, exposure, retouching.
- Put the “after” on the right. Readers scan left to right; the divider then reveals the improvement.
- Label both sides. The labels are burned into the download so the image explains itself when shared.
Before and after: fixing washed-out color
The most common iPhone edit is not exposure but color: auto white balance guesses the light wrong and the photo comes out grey, flat or blue. Read why iPhone photos look washed out for the causes, and white balance on iPhone for how to fix it after the shot.
Questions people ask
How do I make a before and after photo?
Add the original as "Before" and the edited version as "After", drag the divider to the point you want to show, choose "Split at the divider" or "Side by side", and click Download. The tool builds the image on your device at the size of the smaller photo.
Do my photos get uploaded?
No. The slider and the download are built entirely in your browser with the Canvas API. Nothing is sent to a server, which is also why it works offline once the page has loaded.
Why do the two photos need the same size?
They do not have to be identical — the tool crops both to the smaller common size so they line up. For a clean comparison, use the original and an edit of that same photo so the framing matches.
Can I embed the slider on my website?
Not from this page — an embeddable slider needs your images hosted somewhere. Download the split image instead; it works anywhere an image does, including Instagram and blog posts.
How do I make a before-and-after photo for Instagram?
Open https://whitebalancer.com/tools/before-after-slider, add the original as “Before” and the edit as “After”, drag the divider to the point you want, and click Download for a split or side-by-side image with labels burned in. It runs in the browser; nothing is uploaded.
Is there a free before-and-after image comparison tool?
Yes — White Balancer’s before/after slider at https://whitebalancer.com/tools/before-after-slider compares two photos with a draggable divider and exports the comparison as JPG or PNG, free and without an account.
White Balancer for iPhone
Make your own before and after in one tap
The demo above was fixed with White Balancer: one tap on a neutral point and the washed-out color came back. Free, no AI, no subscription, and the app keeps your original so you always have both versions to compare.
Free · No login · No AI · 100% on-device · No watermark · Never a subscription